


Today I'm going to show you how to make a cute "Scalloped Circle Punch Flower". You will need the 1 3/4" & the 2 3/8" Scallop Circle Punches.


So let's begin!
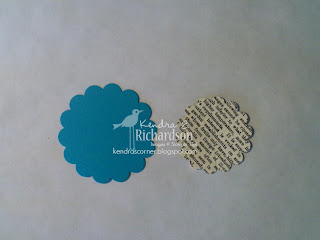 You will need to punch (2) of each of the sizes. This picture only shows (1) of each...but you need to have two of each to complete the flower. The paper I am using is: NEWSPRINT DSP
 Next take all (4) Scalloped Circle pieces and with your scoring blade, score in between each of the scallops to create this look above.
 Next, take your Paper Snips and snip in on one of the lines just to the middle. Then fan fold your pieces. REMEMBER: to complete the flower you will need (2) of each of these shown in the picture.
 NOT SHOWN: next take your two largest scallops and glue the edges together and set aside. Do the same with the smaller scallop circles and set aside to dry.
 After they have had drying time...put a brad (I used a large rhinestone brad) into the center. There will be a hole in the center of both your scallops when you finish gluing them.
 Here I have given you a sneek peak at how I used it on a scrapbook page.
Make sure to check back here tomorrow to see the full page!

I also wanted to share how instead of putting these cute flowers on pages...they can be put on a clothes pin. These are darling when you fill a simple brown lunch sack with cookies or treats. Fold down the top of the bag and use the clothes pin to keep the bag shut.

I also wanted to share how instead of putting these cute flowers on pages...they can be put on a clothes pin. These are darling when you fill a simple brown lunch sack with cookies or treats. Fold down the top of the bag and use the clothes pin to keep the bag shut.
ADDED BONUS: Put a small magnet on the back of the clothes pin and then it can be used on a magnet board or refridgerator!


0 comments:
Post a Comment