Showing posts with label Big Shot Project Idea. Show all posts

Monday, March 7, 2011

Monday's Big Shot Project Share...


BIG SHOT IDEA TO SHARE WITH YOU...
Isn't this the cutest idea for a little baby shower or for a younger child's birthday! My upline and friend, Sue Brown (THANK YOU SUE!) shared this idea with me and she CASED it from another talented demonstrator...Lisa Young. Lisa has a tutorial on her blog and you can view it HERE.
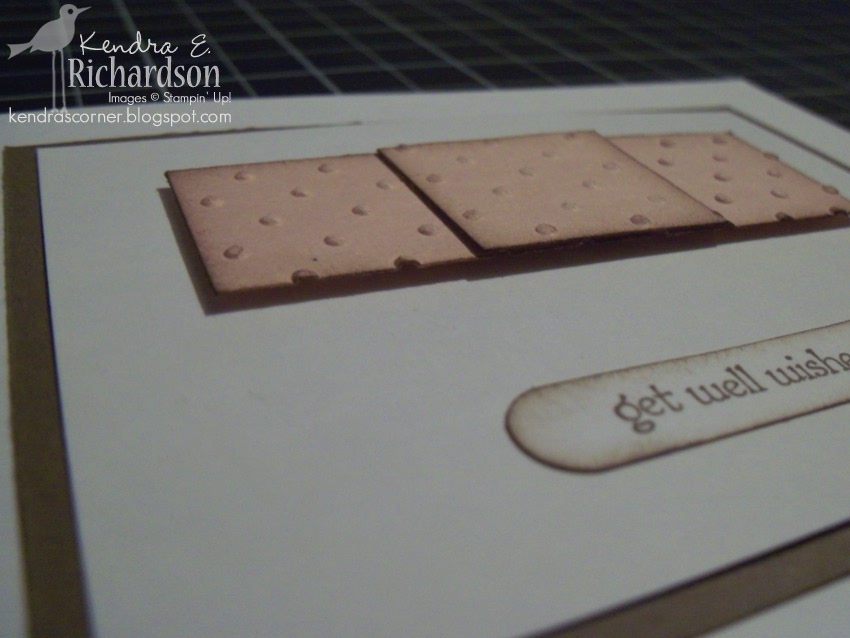
On the card...the smaller train bodies are created with the DECORATIVE LABEL PUNCH. The larger train body is created using the BIG SHOT and the TOP NOTE DIE (below).
Thanks for stopping by and make sure to click on over to Lisa's blog and leave a comment!
Top Note Stampin' Up! Bigz Die
#113463 - $21.95
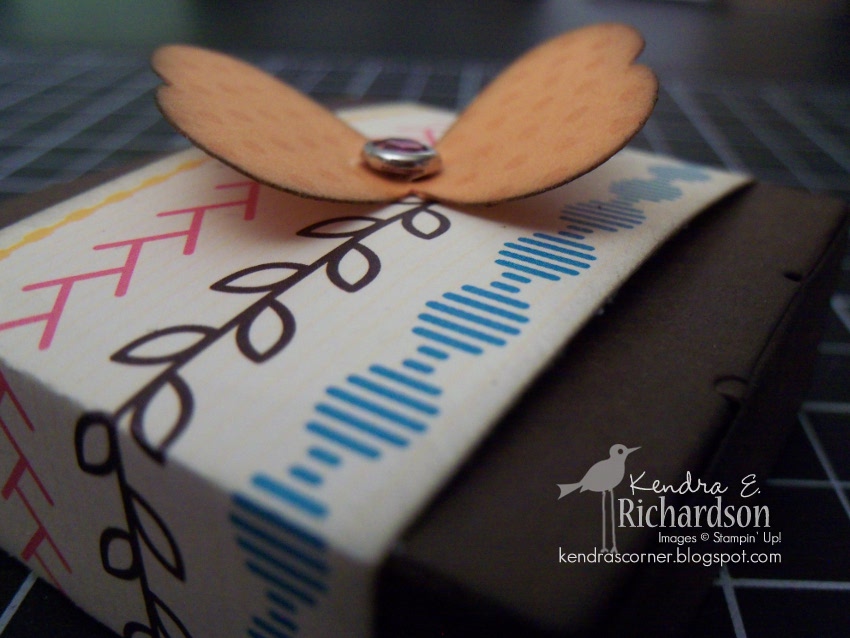
You can use the Top Note die to create cellophane bag toppers from any piece of card stock or Designer Series paper. Simply cut image using the die, stamp or embellish it, and fold it over the top of a cellophane bag (fold in half lengthwise for medium bags and widthwise for small bags). Voila! You’ve made a custom bag topper in no time!

Monday, February 7, 2011

Big Shot Project Share...

OOPS! I dated this "pre-post" item a day early so some of you probably already saw this before I fixed the date to post today - SORRY!
Today I have a cute gift box and birthday card to share with you that I made for a nieces birthday. Super quick to make with the BITTY BOX & ENVELOPE DIE & the BIG SHOT. I just added a belly band along the middle of the box out of our new (mini occasions catalog) Sew Suite DSP. The birthday card uses our new BRING ON THE CAKE set also from the mini. Information on this die is below.


Bitty Box & Envelope Stampin' Up! Bigz Xl Die
#115967 - $42.95
You can use Stampin’ Up!’s exclusive Bitty Box & Envelope Bigz die to create custom boxes and envelopes from any card stock or Designer Series paper. The envelope is just the right size for many uses. Slip a small note inside and attach it to a vase of flowers. Or use it on a scrapbook page as a memorabilia pocket. This bitty box is perfect for holding small treats and gifts
■ Designed to cut through one sheet of paper or card stock at a time
■ Use with Sizzix Big Shot machine and extended cutting pads
■ Die size: 6" x 13-3/4"

Monday, January 31, 2011

Monday's Big Shot Project Share...

Here is my BIG SHOT project share. Below you will find information on the items I used along with the Big Shot Machine. This is a super simple - high impact card that can be created in very little time!

Perfect Polka Dots Embossing Folder Die
#117335
$7.95

Elegant Bouquet Embossing Folder Die
#115964
$7.95

Monday, November 22, 2010

Monday's Big Shot Project Share...


I have the cutest card to share with you today. My friend, Karen R, a SU! Demonstrator, sent me this card when I hurt my back. When I received it...I knew that I would use this idea in my November clubs...so THANKS AGAIN KAREN! I used the Big Shot and the Perfect Polka Dots Embossing Folder to create the bandaid.
This is a terrific card idea that anyone sick or hurt would LOVE to receive - so try it out today!

Monday, November 8, 2010

Monday's Big Shot Project Share...

Today I have a card that uses the new LETTERPRESS PLATES from the Holiday Mini Catalog. I used the JOYFUL SEASON plate for my card. It was easier than I thought it would be and the "debossed" image with ink makes for an elegant card.
Thanks for stopping by!


Joyful Season Letterpress Plates
#120981
$5.95
Our new Letterpress Plates add a whole new dimension to your stamping projects. You can use these plates with the Big Shot machine to add an ink debossed look to cards, invitations, accents for scrapbook pages, home décor, and more. The playful socks on our Joyful Season plate will surely get your friends and family in a jolly mood for the festivities and traditions of Christmas.

■ Inked, debossed impression reminiscent of an old-world letterpress
■ Use with cards, invitations, pages, and décor
■ Use with standard cutting pads and Craft Stampin’ Ink
■ Instructions for use included with each plate
■ 8” x 3” x ¼”
■ Coordinates with Candy Cane Christmas Suite

Tuesday, September 14, 2010

Tuesday's Technique, Tool, or Tutorial...

As promised yesterday, I have the tutorial for you on how to make this darling treat holder.

First cut (2) Scallop Envelopes from your card stock or DSP. I am using Old Olive CS.

Using your paper trimmer, cut the bottom portion of your envelope off so you only have 1/2" left.
This picture shows the 1/2" left on both pieces.
Next take your bone folder and fold on the score lines, BUT leave the scallop top score line alone.

Next take your word window punch and punch your handles right below the scallop top of your envelope. BEFORE you do this...view the picture below for a better shot of what your doing.

I used the score line as my guide for punching out my handles.

Next sponge around the edges (optional). I used Early Espresso Ink.

On the backside of one of your envelopes...place your red sticky tape, glue, or adhesive as shown in picture.
NOTE: I would use some strong adhesive, especially if it's going to be handled or have a treat or gift inside of it.

Peel your sticky strip from the bottom and adhere the two bottom pieces together.

Then do one side and then the next.
NOTE: You can use a popsicle stick, stylus, or bone folder to get in on the edges and make sure they are strongly adhered to each other.
The last step is to decorate it as you choose. On this one I made (2) 3x3 note cards and decorated the envelopes to go with them.

You can see my notecards fit perfectly...but you can't use the handles you created when putting in 3x3 gift card holders. So here's an option for you - don't punch out the handles. Add ribbon with a glue gun or strong adhesive to the two sides and have that as your handle.

Here is another view of this one done up. The very first picture in this post is of the pictures from yesterday. In that one that has the pumkin on the front, I put (2) Ghiradelli Chocolates in it which fit perfectly and you can still use the handles.
NOTE: You can do these as birthday party favors, bridal shower favors, or just as an everyday thank you...depending on how you decorate them. Have fun trying this tutorial out!